Summer Harvest Basil Pesto
The best nut-free basil pesto
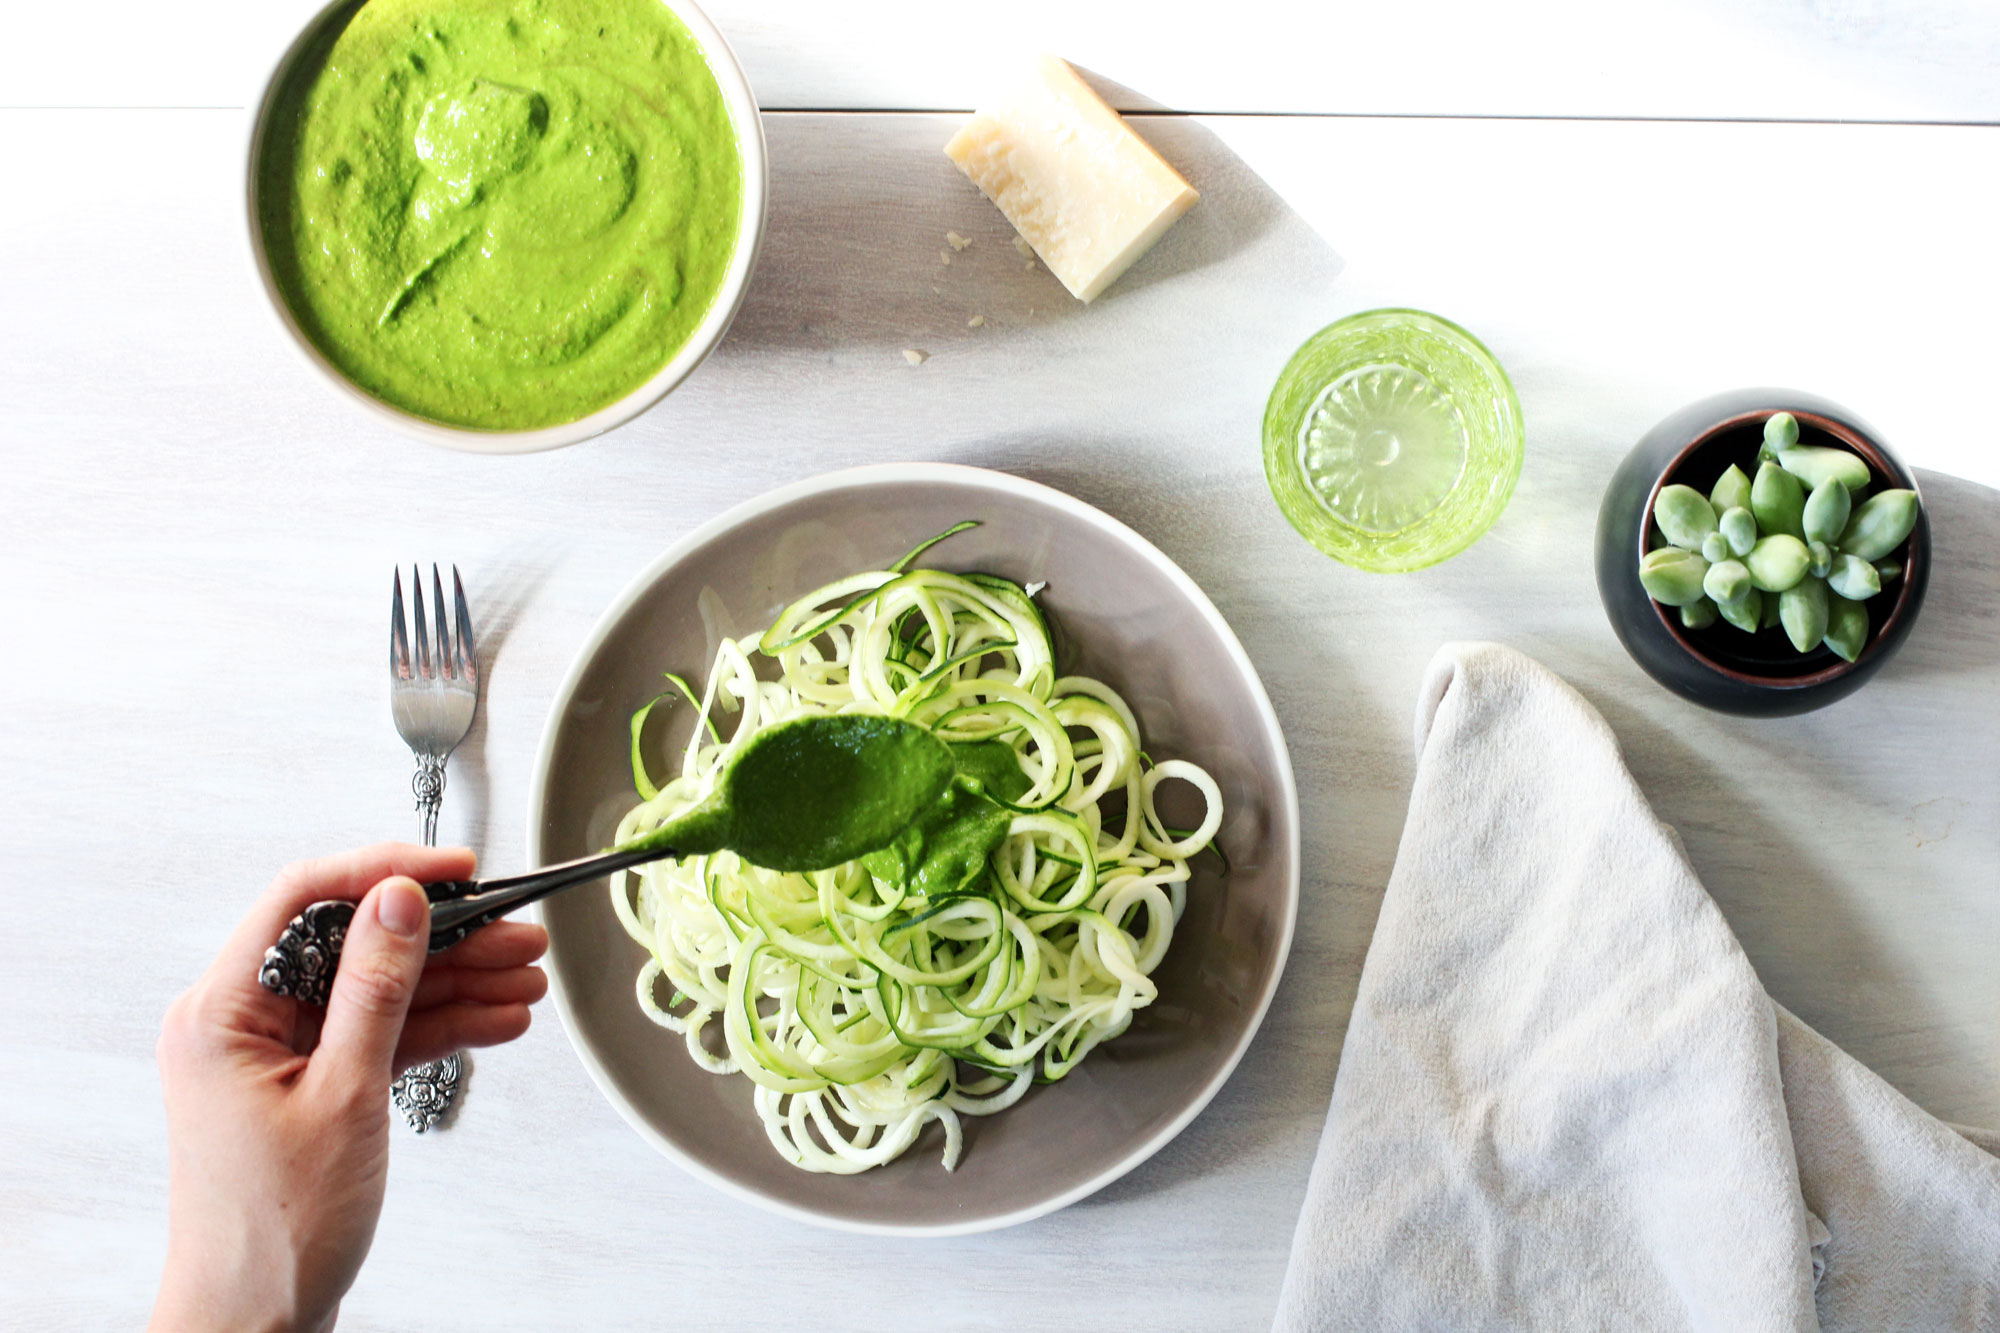
We’ve been making our own pesto from homegrown basil for the past seven years. We love to bring it to summer dinner parties and potlucks, and it’s always a huge hit.
When we make pesto, we harvest almost all of what’s growing in our large, outdoor ceramic planter from Costco. There’s a certain way to cut the basil stems to bring forth a better harvest. Each time we harvest the basil, which occurs roughly twice a month, we cut the stems, which yields more basil leaves for the next harvest. In addition to the stem pruning, we strip the basil plants of their leaves until they’re mostly naked. You do have to be careful, because if you strip the stems 100% it can stress the plant out and cause it to die. Been there, done that! I usually leave a few smaller leaves on each stalk.
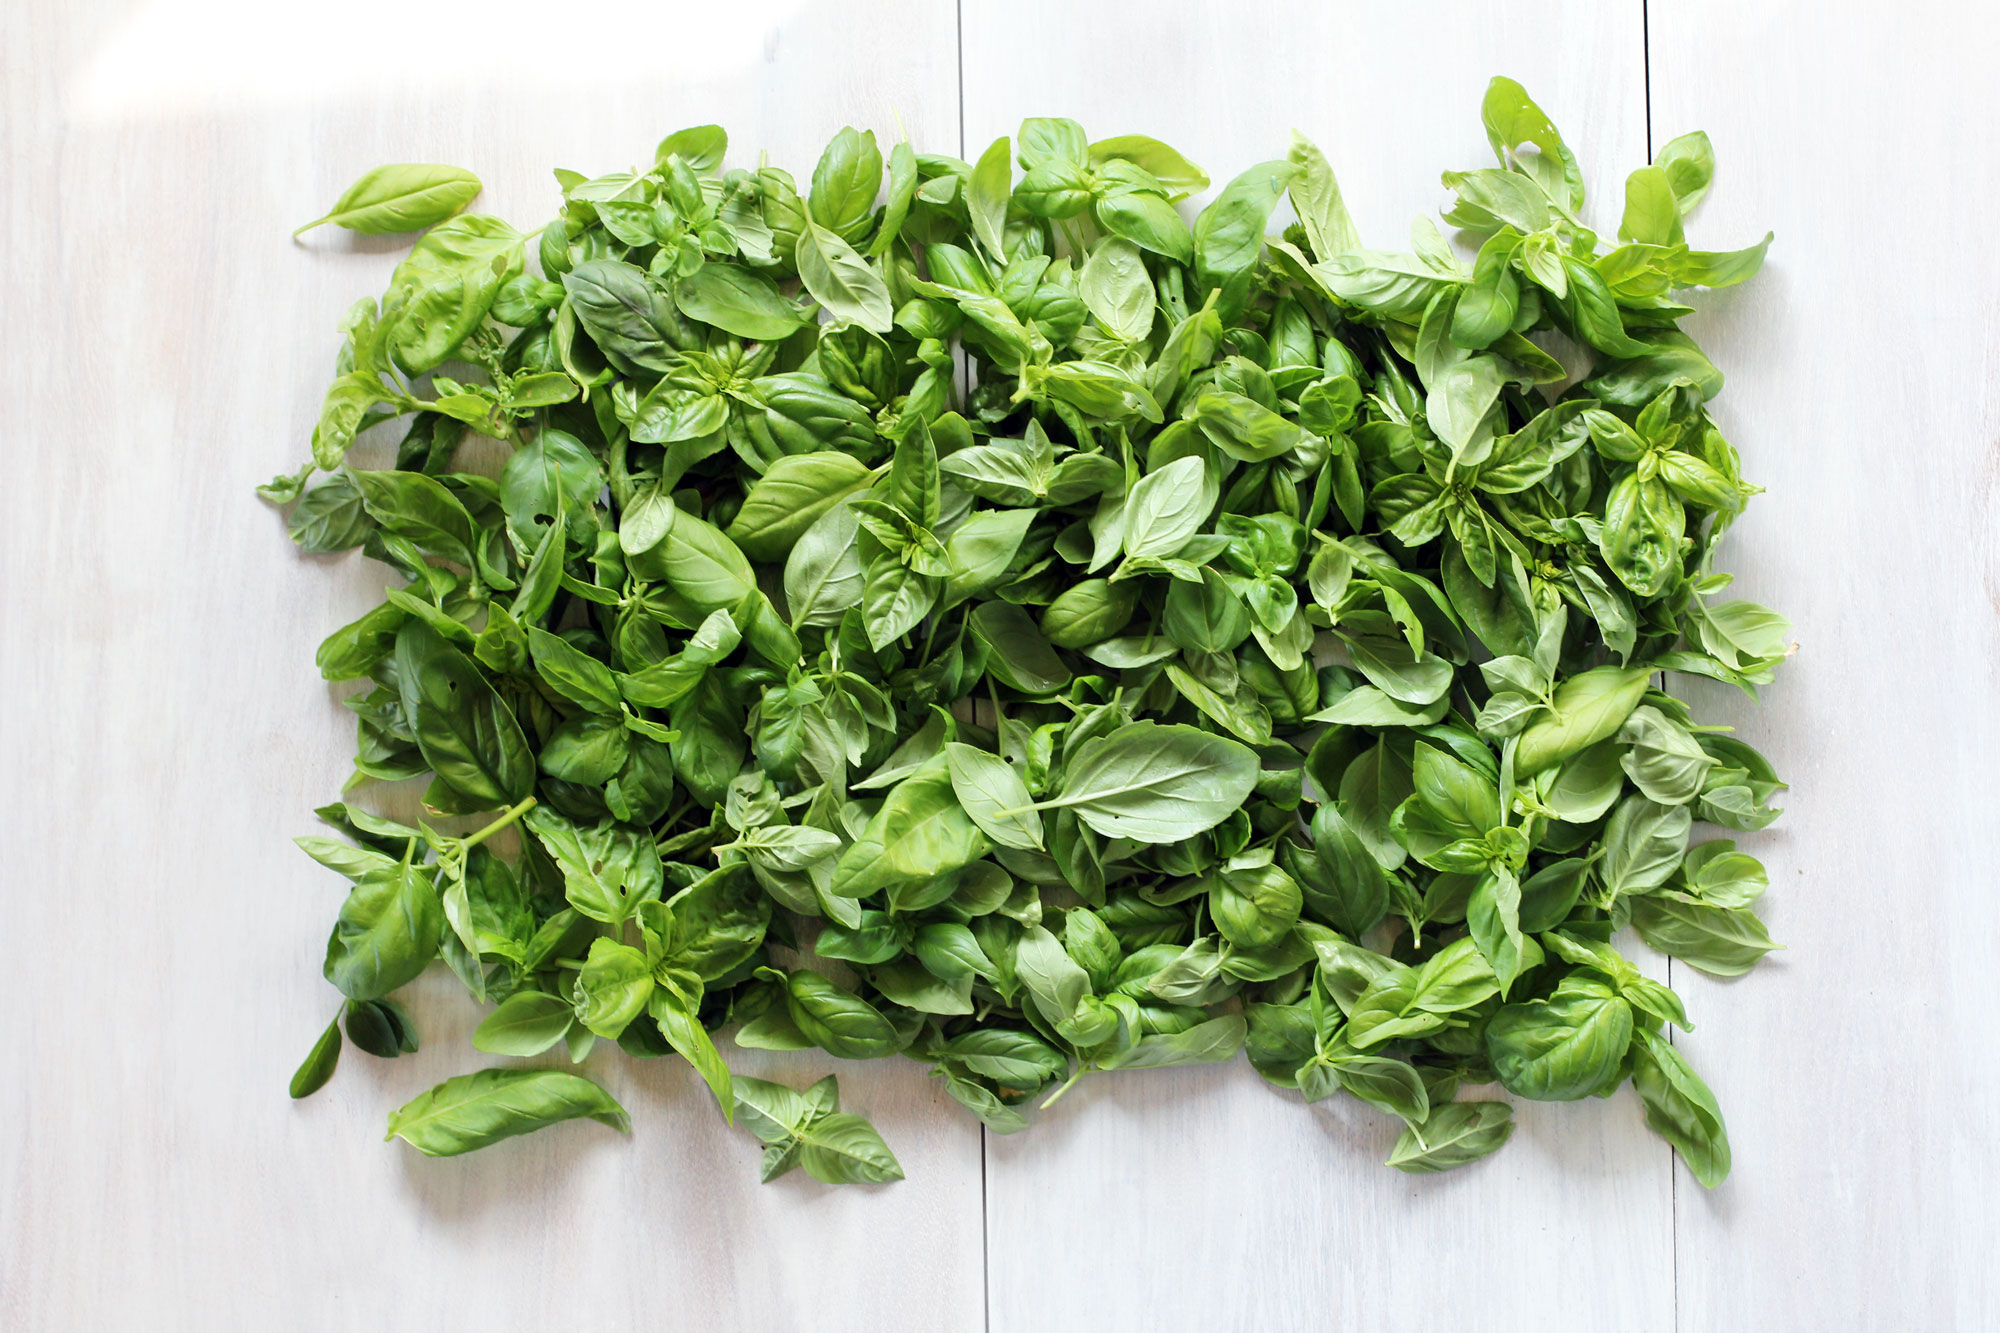
Pesto tastes best when you use as much basil as possible. This is the secret to making the best pesto ever. All. The. Basil. The less basil you put in your pesto, the less tasty it will be.
Pictured below is our last harvest of the season. What you see there is about 6 ounces of basil leaves. That weight is leaves only, no stalky stems!
Our basil pesto recipe has evolved over the years.
We used to put almond flour in our pesto, as that is how we liked it best (vs the traditional pine nuts). However, I developed a tree nut allergy/reaction so we had to adapt our basil pesto recipe accordingly. Now, we keep it super simple: lots of basil, raw milk Parmesan cheese, olive oil, lemon juice, garlic, salt, and pepper. That is it. If you can have nuts, try adding almond flour in your pesto!
We almost never use a set recipe for our pesto. The one I’m posting here is available to you because we wrote it down when we made this last batch for the season!
If you use as much basil as possible, and then eyeball the rest of the ingredients, you can’t go wrong. Taste the pesto as you go. Start with the basil and the olive oil. Blend that in your Vitamix first. Then add the rest of the ingredients, one at a time. Adjust as you go. This is EASY. It’s crucial to add one thing at a time, while you flex the recipe to your liking.
Speaking of the Vitamix, I prefer making pesto in our Vitamix because of how smooth the Vitamix blends it. Because the pesto will be thick, you do need to use the tamper to help it blend well.
My girls are generally dairy-free, but we still serve them this pesto, even though it contains Parmigiano-Reggiano cheese. They haven’t had any reactions to it. We use raw milk Parmigiano-Reggiano from Trader Joe’s.
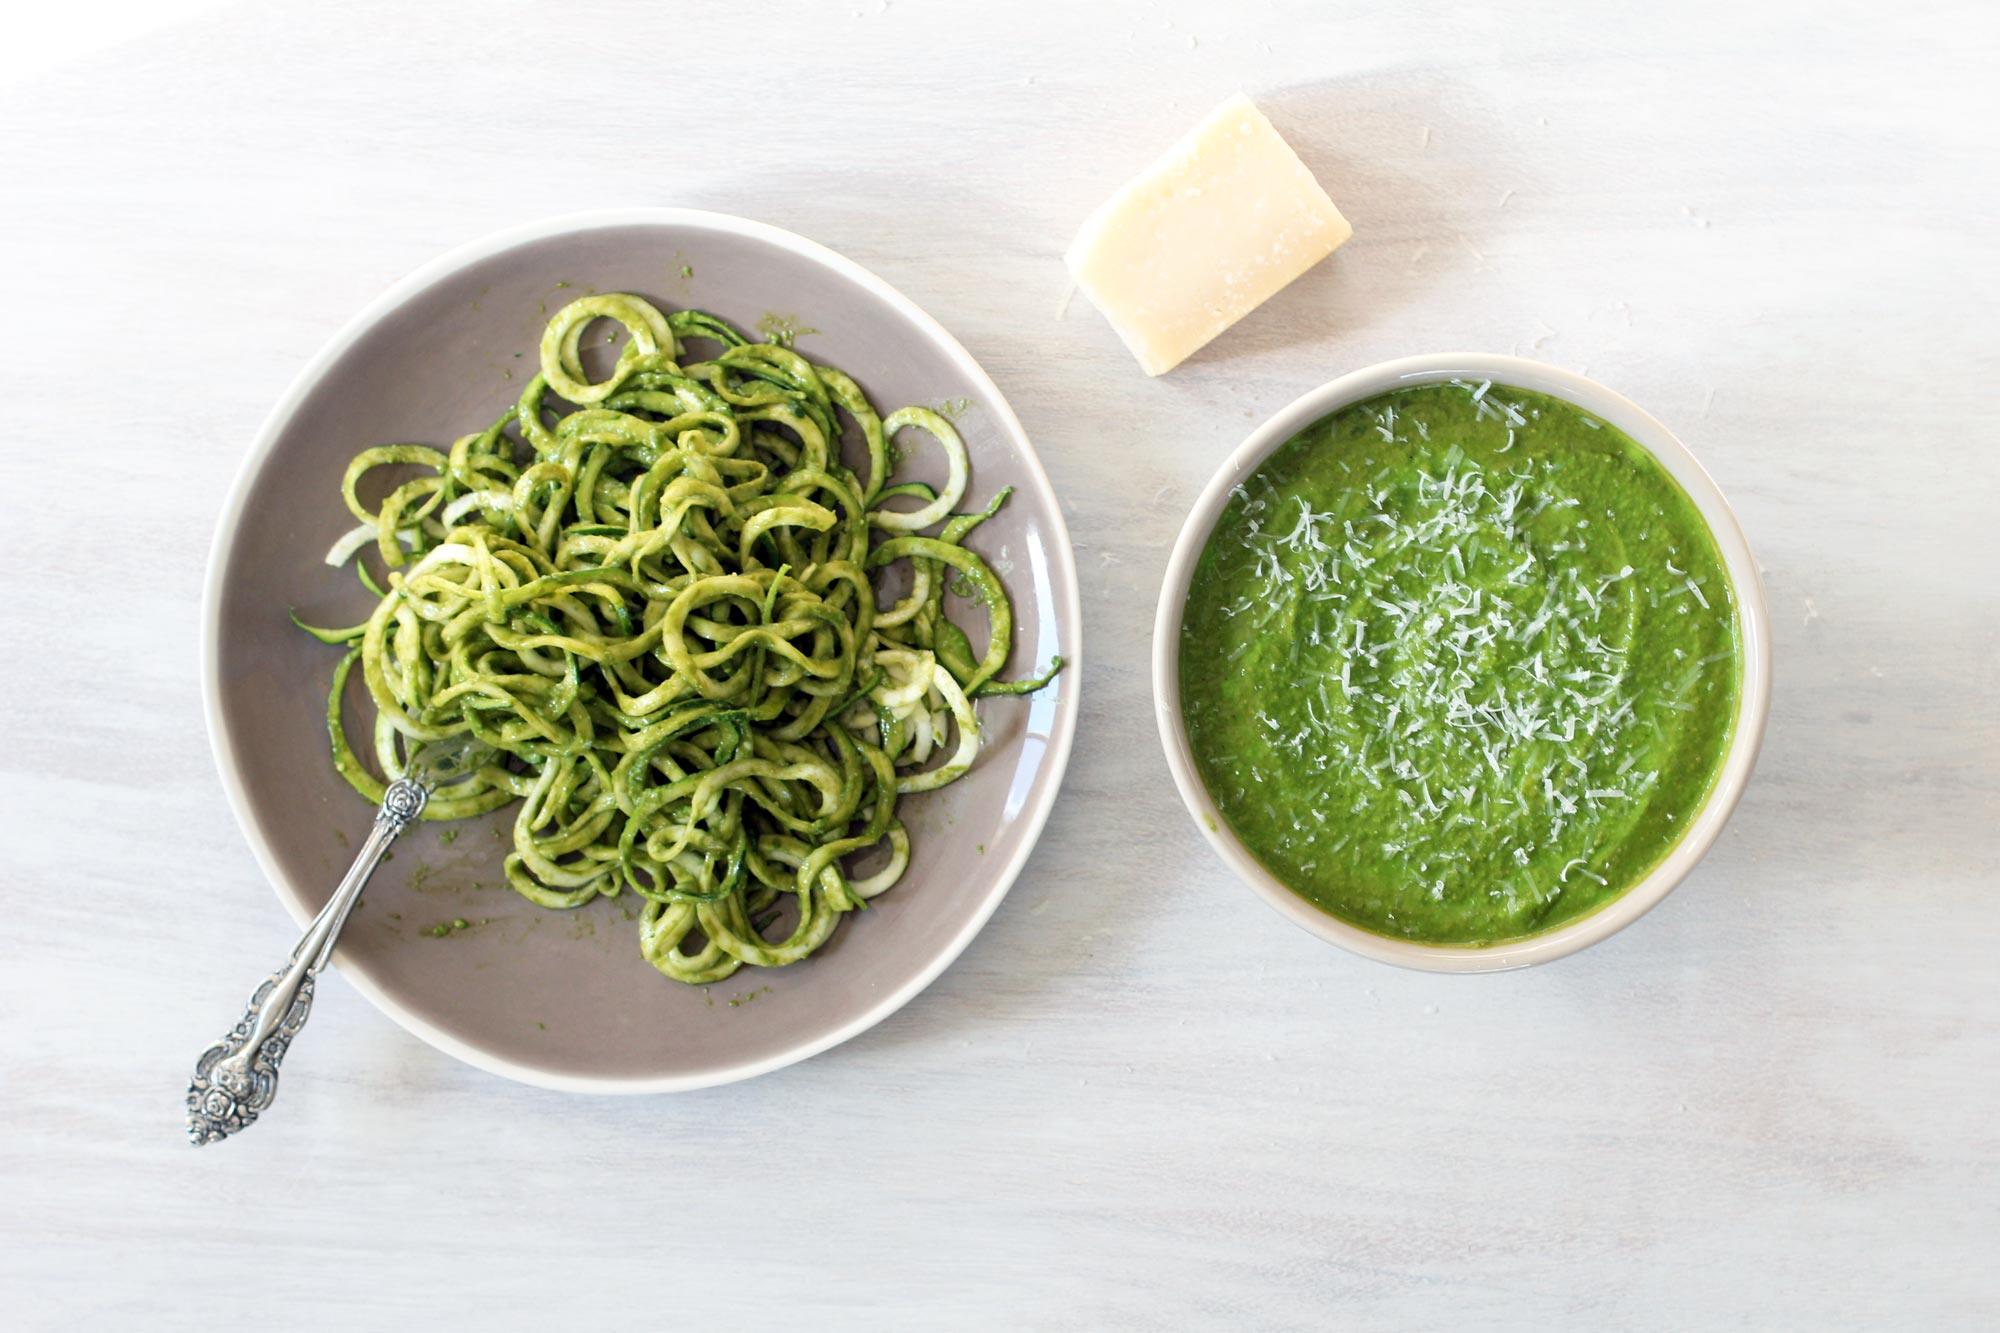
Pesto does not last long. It is best used within two to three days. Three days is probably pushing it! We put vitamin C powder in our pesto (a pinch) to keep it from oxidizing. It is the oxidation process that causes the pesto to turn that off-brown color. Vitamin C slows the oxidation process down, thus preserving the bright green color of the pesto. Sometimes if I am trying to make my pesto stretch until Day 3, I will sprinkle in extra vitamin C powder on Day 2. If you use too much vitamin C powder, it can make the pesto taste sour, so be careful!
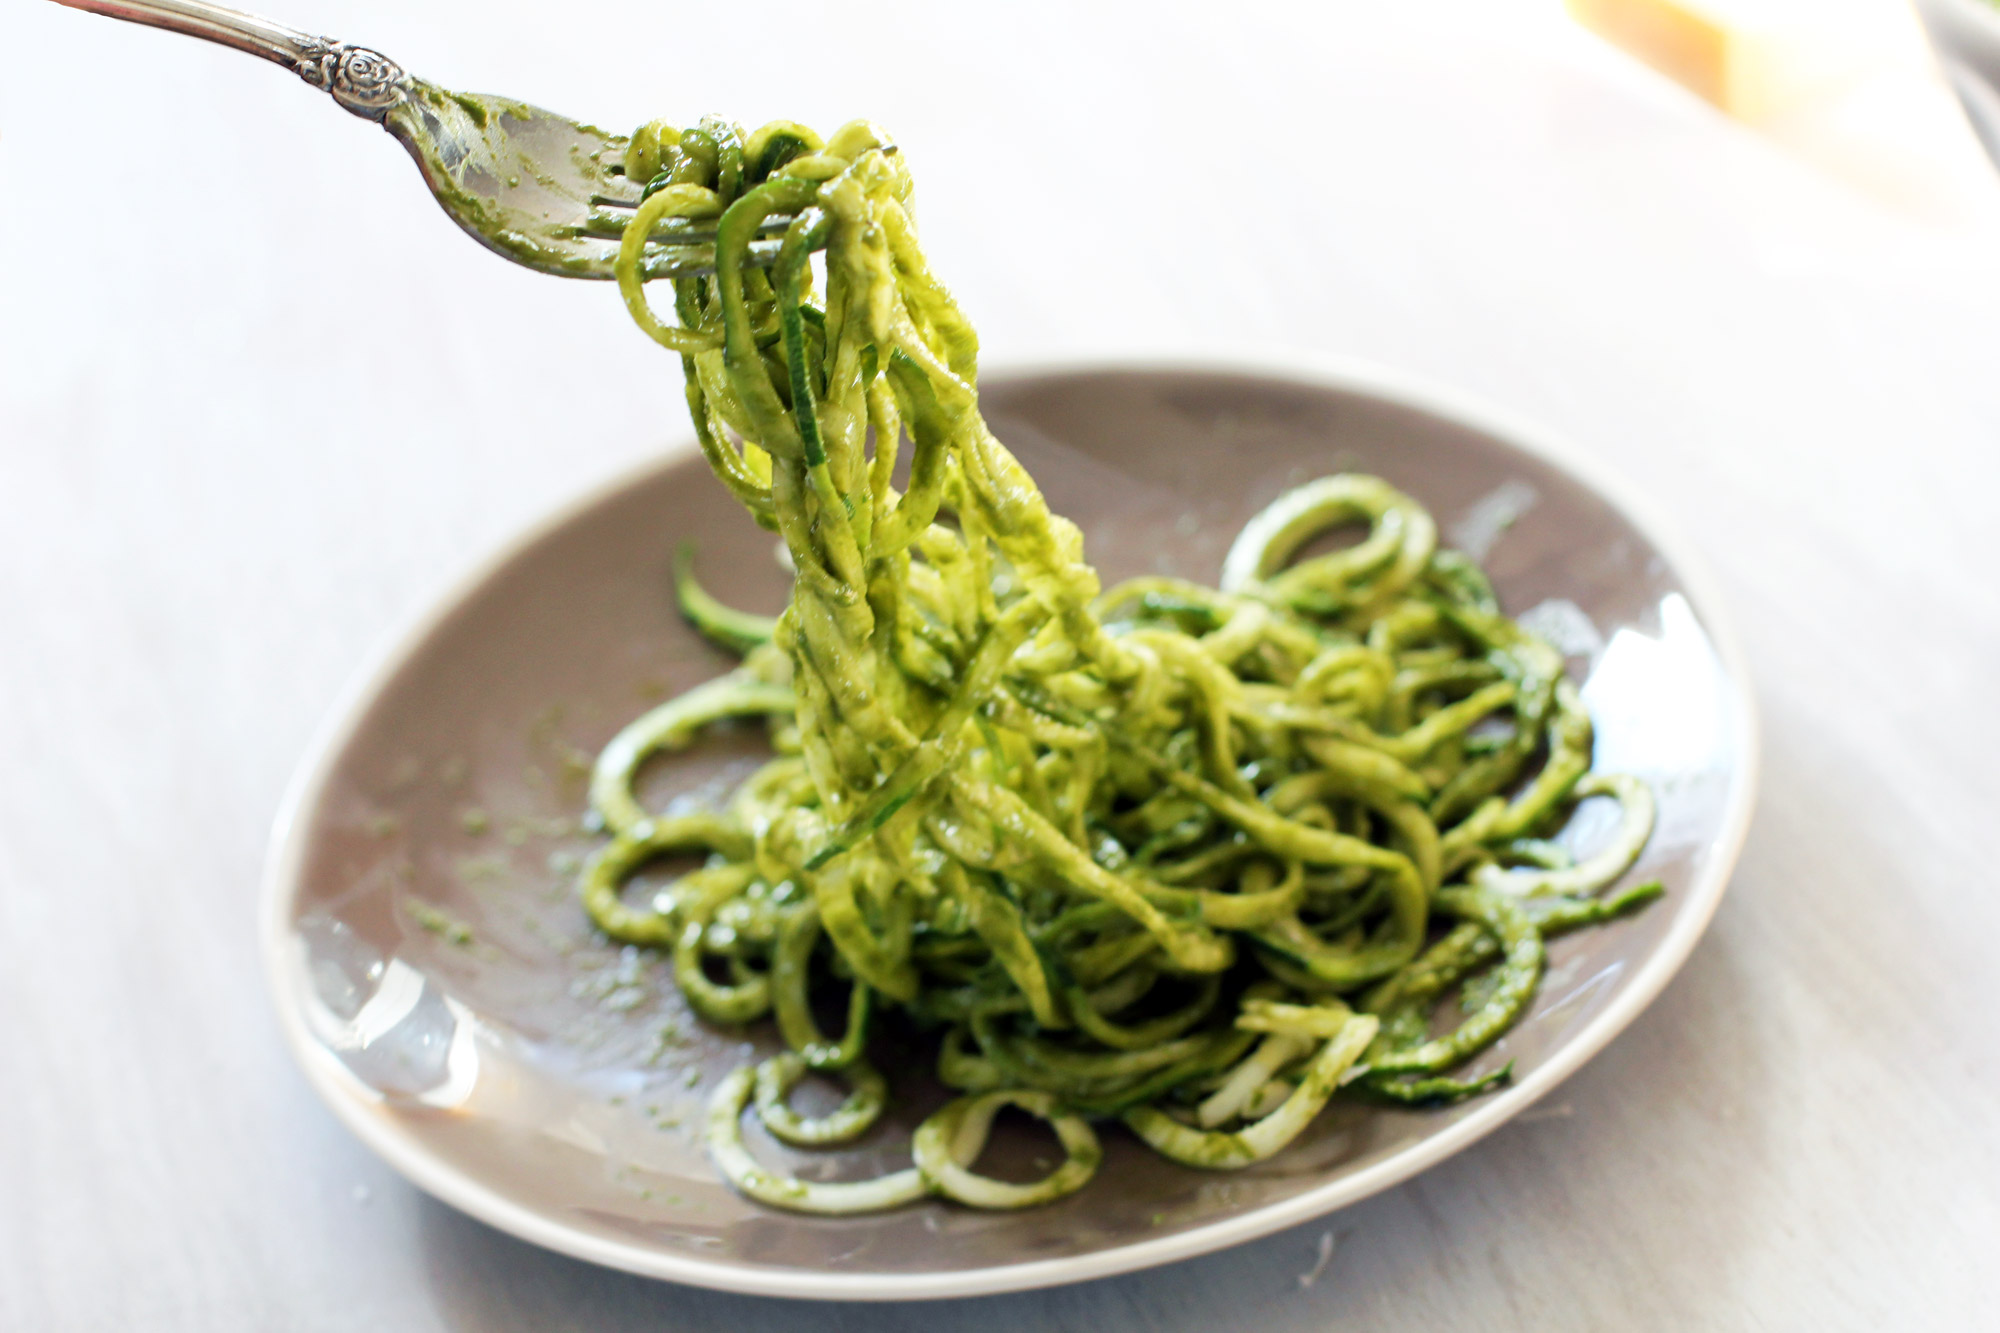
I enjoy my pesto on homemade zucchini noodles, otherwise known as zoodles. I like variety, so sometimes I’ll eat the pesto on raw zoodles, and other times I’ll eat the pesto on sauteed zoodles. Raw zoodles are featured in the pictures.
My family loves their pesto on Tinkyada brown rice fettuccine, which I have to admit, is absolutely delicious. I know this because I always ask the Wendy’s Eating Husband for one bite of his basil pesto pasta. One bite won’t kill my blood sugar, but I do try to stay away from brown rice pasta. Brown rice pasta is not blood sugar friendly, so I do the zoodles instead. If you have blood sugar issues, diabetes, or insulin resistance, you should be eating zoodles as a pasta substitute too!
I shouldn’t be sharing this part either, but the Wendy’s Eating Husband loves to dip fresh bread in our basil pesto, even though he shouldn’t be eating bread because he’s technically supposed to be gluten-free.
Basil PestoIngredients
- 6 ounces basil leaves
- 5 ounces raw milk Parmigiano-Reggiano cheese
- 1 cup extra virgin olive oil
- 2 Tablespoons lemon juice
- 1 garlic clove
- 1/4 teaspoon salt + more for preferred taste
- good pinch freshly ground pepper
- 1/8 teaspoon vitamin C powder
- Rinse and thoroughly dry basil leaves. Place in Vitamix.
- Add olive oil.
- Blend well. You may need to use the tamper.
- Cut up the cheese into smaller pieces, then add to the Vitamix.
- Blend well.
- Add the rest of the ingredients, one at a time, tasting the pesto as you add each ingredient. Add extra garlic, salt, or pepper to taste.
- Serve on pasta or zoodles. Best when consumed immediately. Can be stored up to 3 days.
Enjoy More Archerfriendliness
I am a huge advocate of the unsweetened life. While I fully support a sugar-free lifestyle, eliminating white sugar isn't enough. Maple syrup, molasses, honey, coconut sugar, agave syrup, and e...
I made this ice cream for the sole purpose of making ice cream sandwiches with purple sweet potato oatmeal fig cookies (sorry, the cookie recipe is not on the blog yet!). I created the recipe quic...
This is the no fuss archerfriendly version of Tom Kha Gai Soup, currently my hands-down favorite soup. The traditional version is made from scratch with bird's eye chilies, fresh lemongrass, gala...


